What DTF transfers are and how they work
DTF stands for Direct-to-Film, a revolutionary printing method that's changing how we think about custom apparel and fabric decoration. Unlike traditional vinyl or sublimation methods, DTF printing creates vibrant, detailed designs on a special film that can be transferred to virtually any fabric type - cotton, polyester, blends, and even leather or canvas.
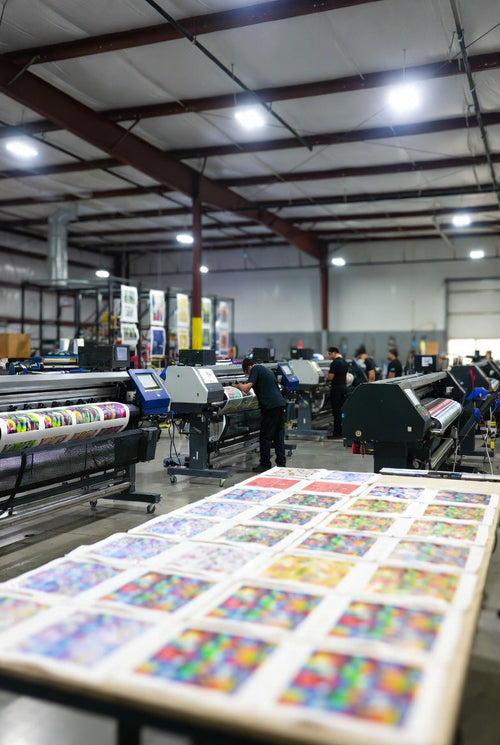
The process starts with printing your design using specialized DTF inks onto a clear PET film. These water-based pigment inks are specifically formulated to bond with textiles. Once printed, a hot-melt adhesive powder gets applied to the wet ink while it's still tacky. This powder acts as the bonding agent between the film and your fabric.
The magic happens when heat and pressure activate the adhesive powder. The design literally melts into the fabric fibers, creating a permanent bond that's both flexible and durable. What makes DTF special is its ability to reproduce photographic quality images with smooth gradients and fine details that other methods struggle to achieve.
DTF transfers work on dark and light fabrics equally well, without the need for special treatments or white underlays. The printed design sits slightly on top of the fabric, giving it a slightly raised feel similar to screen printing. This versatility makes DTF perfect for small batches, one-off designs, and complex multicolor artwork that would be expensive or impossible with traditional screen printing.
Essential equipment needed for successful DTF application
Creating professional DTF transfers requires specific equipment, though you don't need an industrial setup to get started. The printing side involves a DTF printer loaded with CMYK+White inks, DTF films, and hot-melt adhesive powder. Many crafters start with converted inkjet printers, though dedicated DTF printers offer better results and reliability.
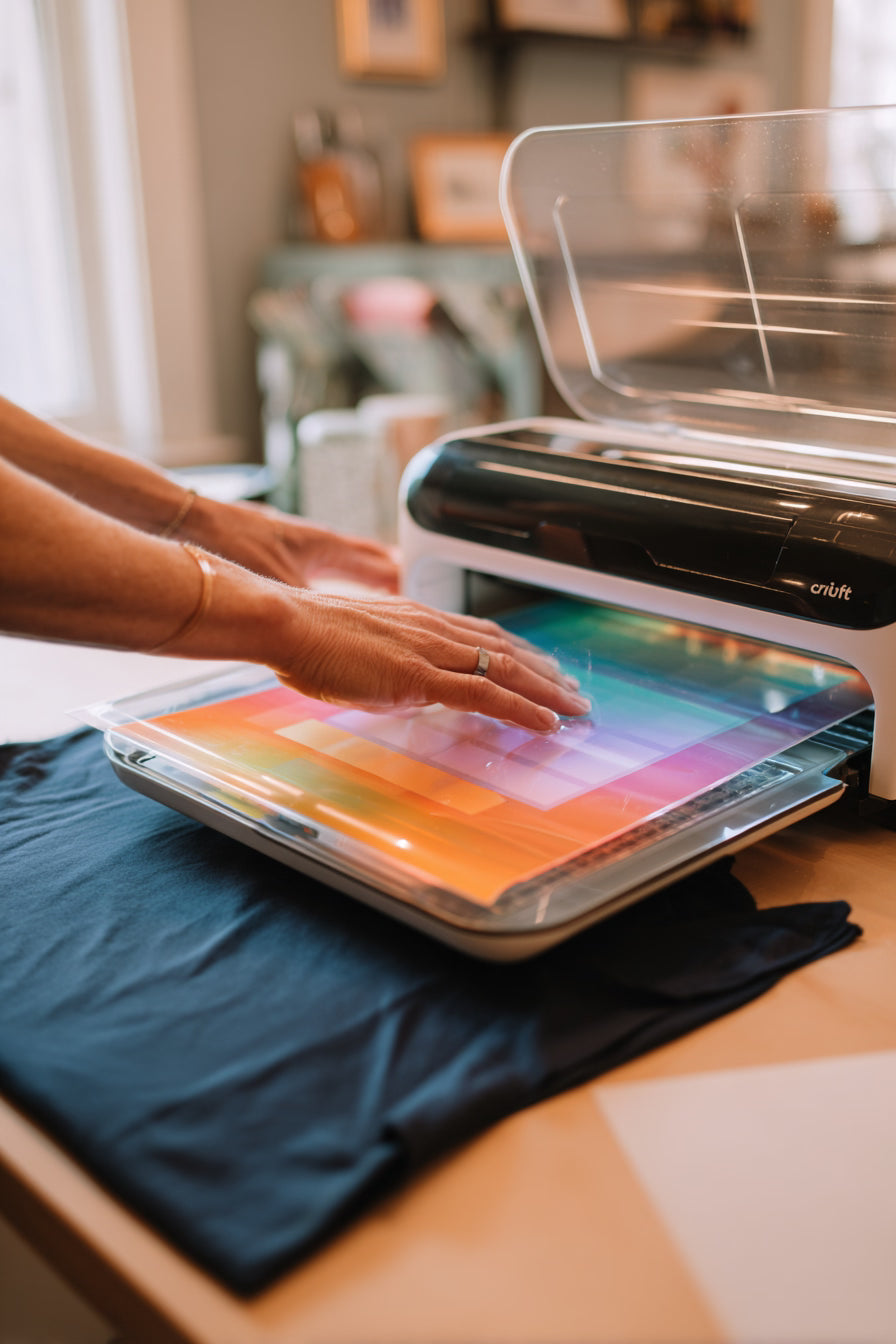
For the application process, you need three critical components: heat, pressure, and time control. A heat press machine traditionally fills this role, providing even temperature distribution and consistent pressure across the entire design. Professional DTF applications typically require temperatures between 300-320°F with medium to firm pressure for 10-15 seconds.
Quality DTF films are non-negotiable - cheap films can cause adhesion failures, color bleeding, or poor wash durability. The adhesive powder must match your ink system and fabric types. Different powder formulations exist for various applications, with some designed for stretch fabrics and others optimized for cotton.
You'll also need a curing oven or conveyor dryer to properly cure the adhesive powder before storage. This step ensures the powder bonds correctly to the ink and prevents it from falling off during handling. A powder shaker helps remove excess adhesive, and proper storage containers keep your transfers ready for application.
Temperature and pressure specifications for DTF transfers
Getting DTF application parameters right makes the difference between professional results and disappointing failures. The sweet spot for most DTF transfers sits between 305-315°F, though some films and adhesives perform better at slightly different temperatures. Going too hot can scorch the film or cause the adhesive to over-cure, while insufficient heat prevents proper bonding.
Pressure requirements vary based on your fabric type and design complexity. Medium pressure works well for most applications - enough to ensure good contact without crushing fabric fibers or causing the adhesive to squeeze out from under the design. Dense fabrics like canvas need more pressure, while delicate materials require a gentler touch.
Timing is equally critical. Most DTF transfers need 10-15 seconds of initial pressing, followed by a cool peel where you remove the film after the garment cools completely. Some transfers use a warm peel technique, removing the film while still warm. Always follow your specific film manufacturer's recommendations, as different brands may have unique requirements.
The pre-press step often gets overlooked but plays a huge role in success. Pressing the garment for 2-3 seconds before applying the transfer removes moisture and wrinkles, creating an optimal surface for adhesion. This simple step prevents many common application problems and improves overall transfer quality and longevity.


