Table of Contents
-
What Are DTF Transfers?
-
Why Choose Custom DTF Printing
-
Tools You’ll Need for DTF Transfers
-
Step-by-Step: How to Apply DTF to a Shirt
-
Pro Tips for Perfect Results
-
FAQs About DTF Transfers
-
Final Thoughts
What Are DTF Transfers?
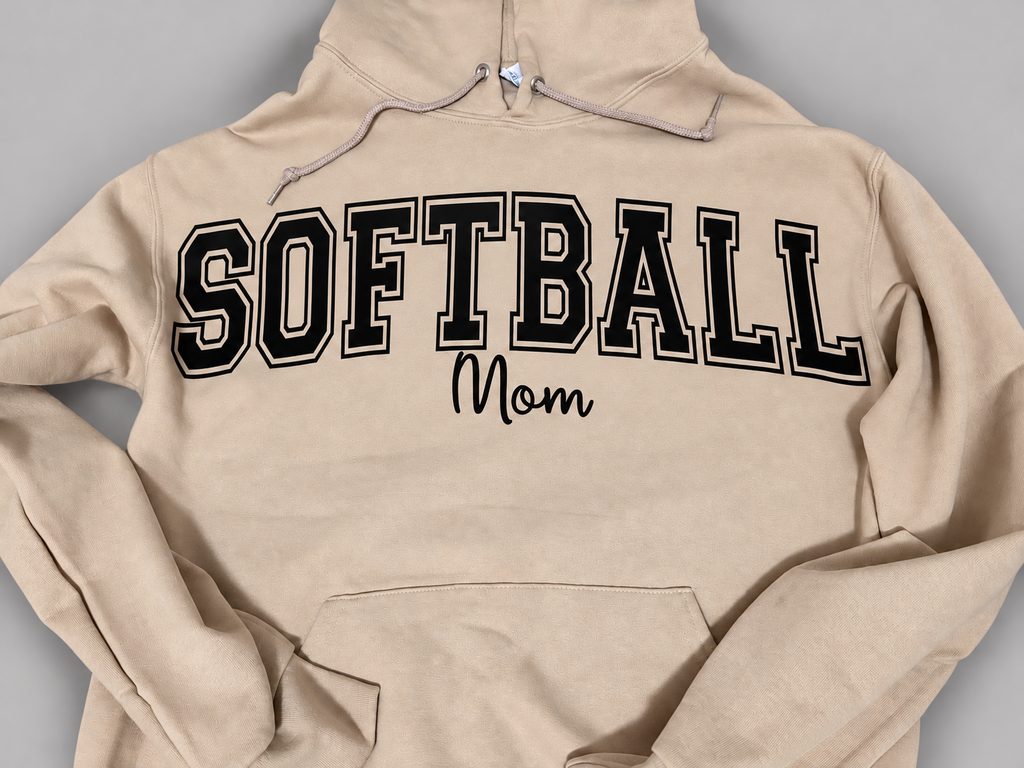
DTF (Direct-to-Film) transfers are one of the most popular and affordable ways to print designs on clothing.
Unlike screen printing or vinyl, DTF doesn’t require complex machines or pre-treatment. Your design is printed onto a special DTF film and transferred to fabric using a heat press.
At EZDTFMaker, you can upload your artwork and get ready-to-press DTF transfers shipped straight to your door — no printer needed. It’s the easiest way to create high-quality apparel with long-lasting color and detail.
Why Choose Custom DTF Printing
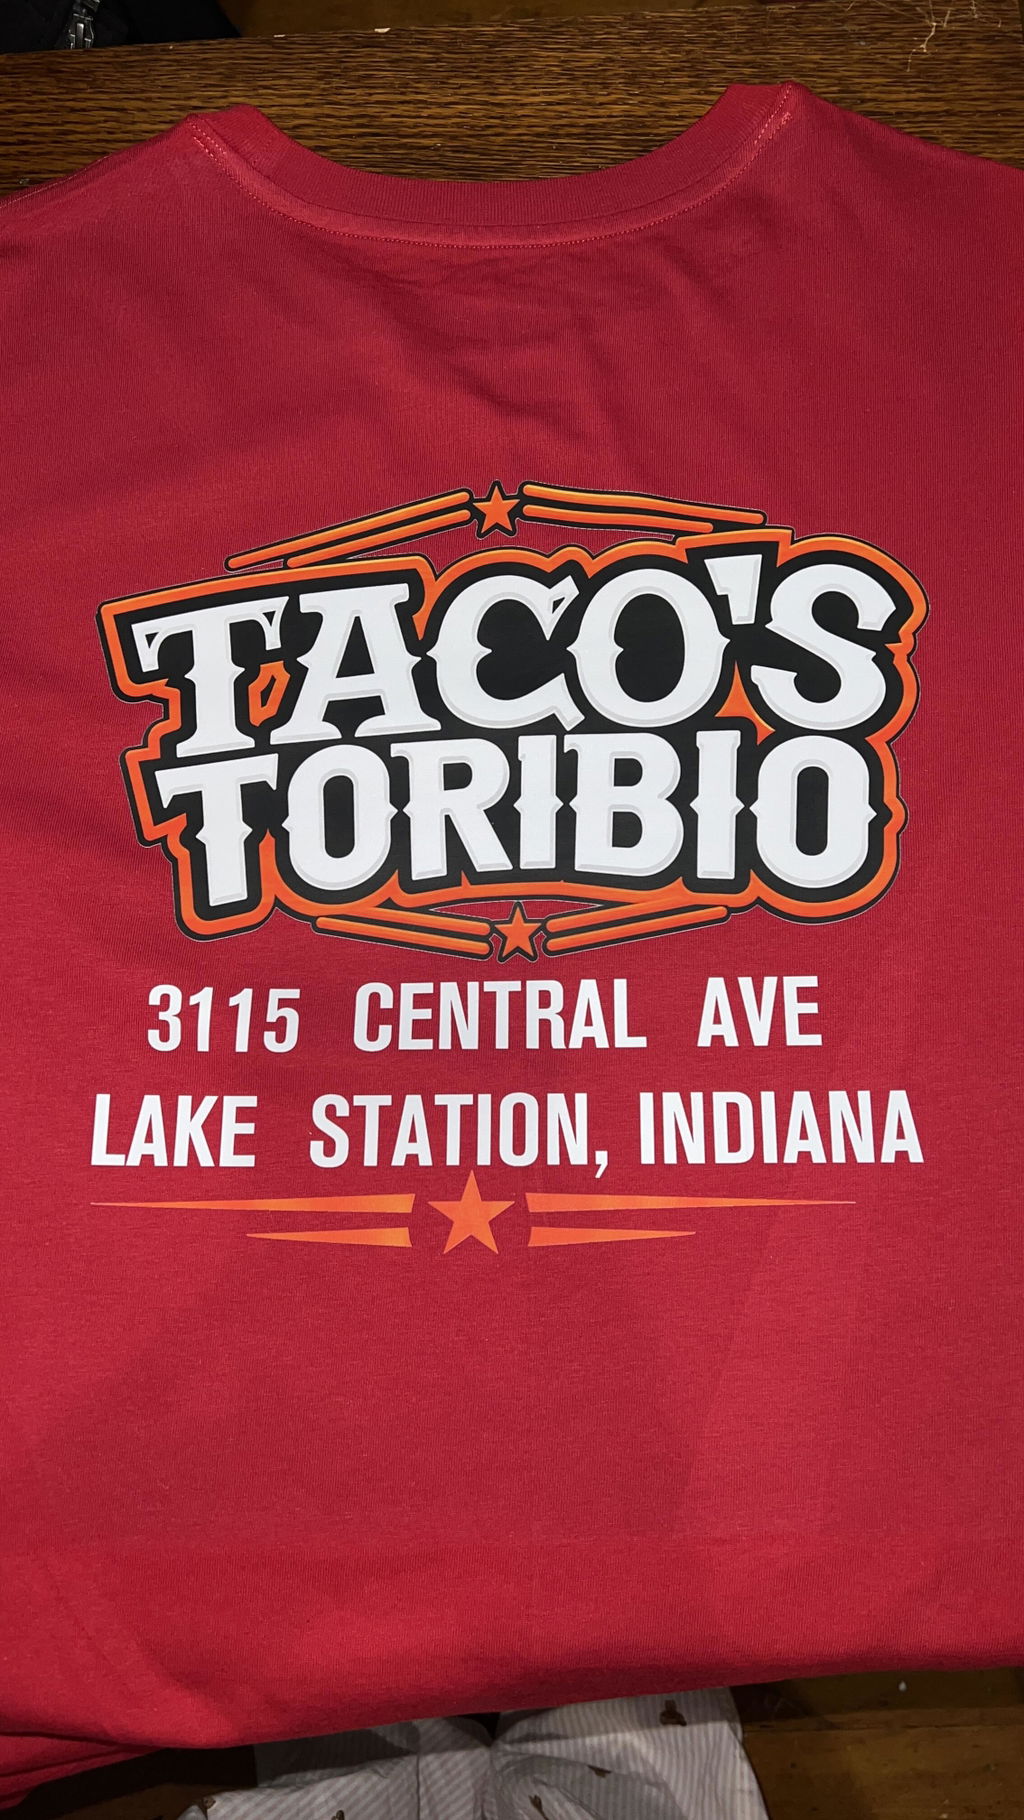
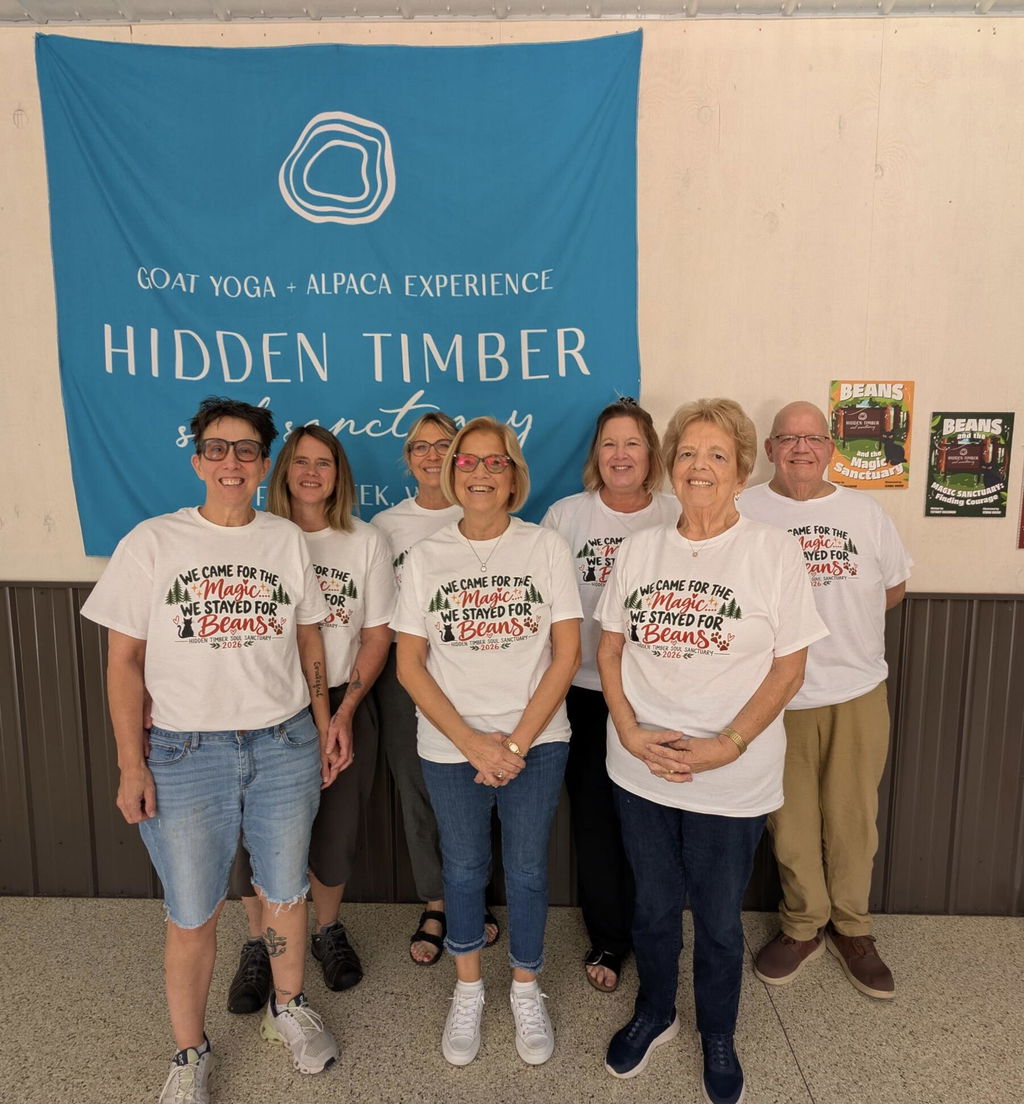
Custom DTF printing gives you total flexibility — print any design, any size, and any color. Whether you’re a small clothing brand, crafter, or print shop, DTF transfers help you create professional results without heavy investment.
Here’s why thousands of creators love it:
-
Works on cotton, polyester, and blends
-
100+ wash durability with no cracking
-
Bright, soft-touch prints that stay flexible
-
No minimum order – print one or print hundreds
-
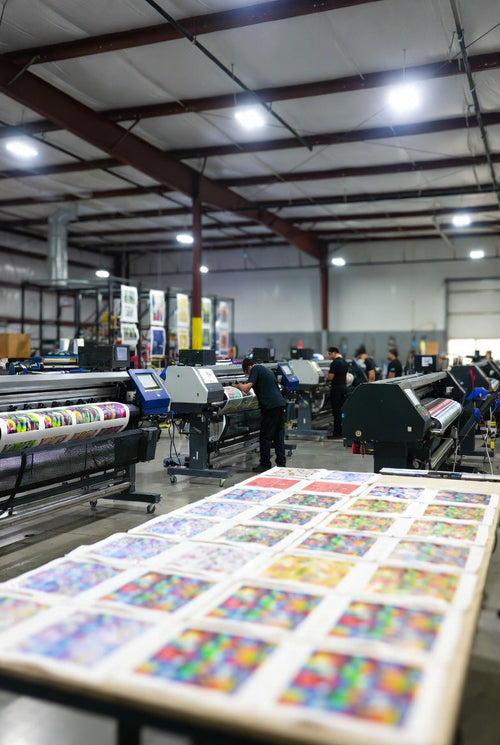
Fast turnaround and 24-hour delivery from Chicago’s trusted DTF experts
Tools You’ll Need for DTF Transfers
Before applying your transfers, make sure you have the right setup:
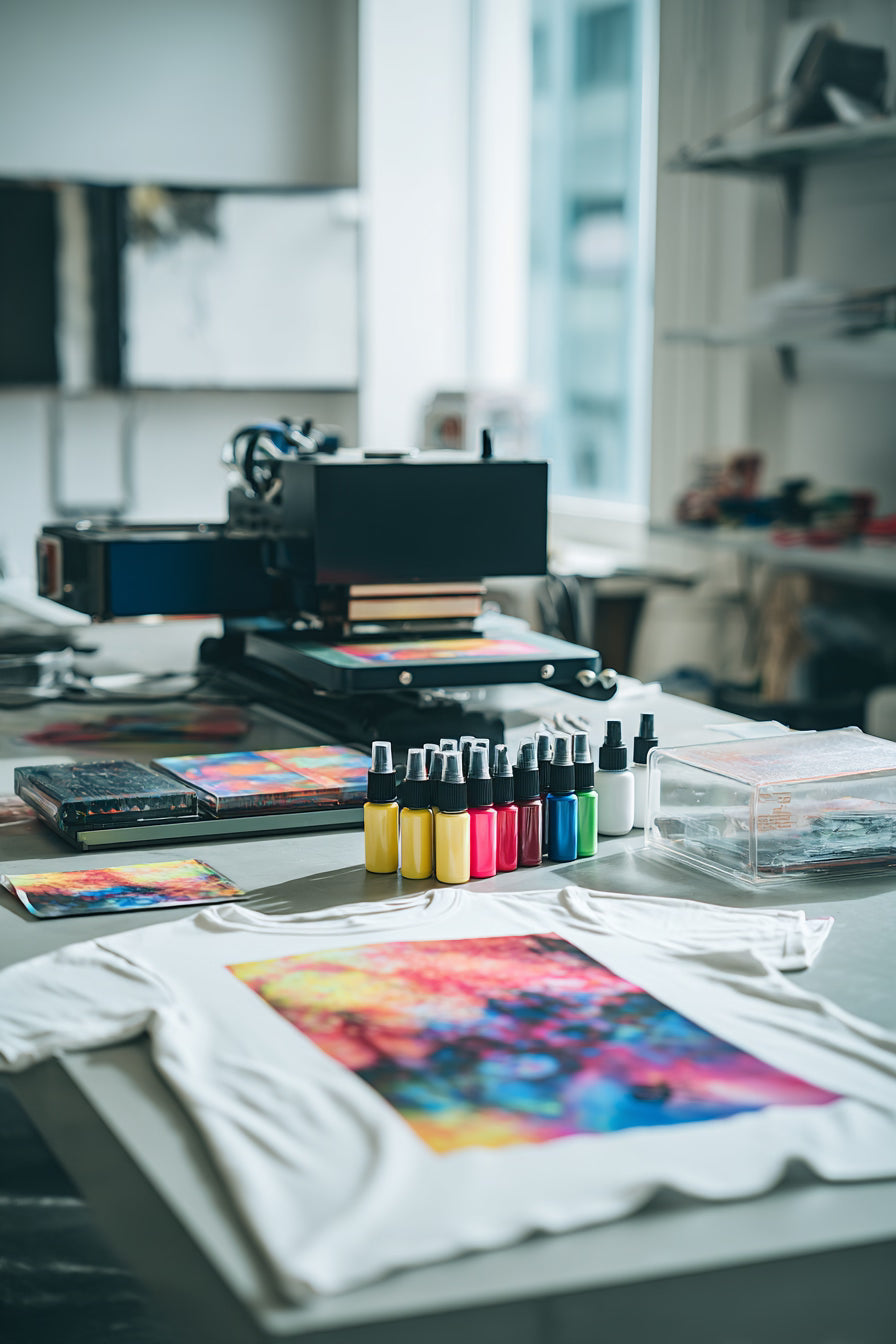
- Heat Press Machine – Maintains consistent heat and pressure.
- DTF Transfer Film – Your custom printed sheet or gang sheet.
- Garment or Fabric – Cotton, poly, or blends.
- Teflon or Parchment Sheet – Prevents sticking and protects your print.
- Lint Roller – Removes dust or fibers for a smoother finish.
With these tools, you’re ready to press like a pro.
Step-by-Step: How to Apply DTF to a Shirt
Follow these steps for perfect DTF results every time 👇
1️⃣ Pre-Press the Garment (5 Seconds)
Use your heat press to remove wrinkles and moisture. This creates a smooth, flat surface for pressing.
2️⃣ Position the DTF Transfer
Place the transfer film print-side down on your shirt. Make sure your design is centered and aligned properly.
3️⃣ Press at the Right Settings
Consistent heat and pressure are key for long-lasting results.
4️⃣ Peel the Film (Cold Peel)
Wait a few seconds for the film to cool, then gently peel it off. You’ll see the design perfectly bonded to the fabric.
5️⃣ Final Press (Recommended)
Place a Teflon sheet over your design and press again for 5 seconds. This “locks in” the print and adds a soft matte finish.
Boom 💥 — your custom shirt is ready to wear or sell!
Pro Tips for Perfect Results
⭐ Always press on a flat, even surface for consistent pressure.
⭐ Store your DTF transfers in a cool, dry place.
⭐ Avoid over-pressing — too much heat can dull colors.
⭐ Use DTF supplies like premium films, powders, and inks for best performance.
⭐ Try UV DTF transfers for bottles, mugs, and hard surfaces — they’re durable and waterproof!
FAQs About DTF Transfers
Q1: Can I use a home iron instead of a heat press?
You can try, but results won’t be consistent. A heat press provides even heat and pressure for professional quality.
Q2: How long do DTF prints last?
With proper care, they last over 100 washes without fading or cracking.
Q3: Do I need to pre-treat the shirt?
No pre-treatment needed! That’s what makes DTF transfers so easy.
Q4: Can I use DTF on dark garments?
Yes — DTF transfers work beautifully on light and dark fabrics alike.
Q5: What’s the difference between DTF and UV DTF?
DTF is for clothing and fabrics, while UV DTF printing is for hard items like cups, tumblers, and glass surfaces.
Final Thoughts
DTF printing has changed the game for custom apparel.
With EZDTFMaker’s custom DTF transfers, you can turn your designs into real-life prints without owning a printer. Just upload, press, and impress.
Whether you’re starting a clothing brand or customizing merch for your business, EZDTFMaker gives you fast shipping, premium quality, and 100% satisfaction guaranteed.
👉 Order your DTF transfers today and experience Chicago’s fastest, most reliable DTF printing service!
DTF Printing Supplies Explained: Ink, Film, and Adhesive Powder — Complete Guide for 2025