Pressing DTF transfers should be simple, not stressful.
With EzDTF Maker DTF transfers, you don’t need complicated steps or guesswork.
Follow this easy guide to get clean, long-lasting results on t-shirts, hoodies, and more — even if you’re pressing for the first time.
Equipment You’ll Need
Before you start, make sure you have the following:
- Heat press machine
- EzDTF Maker DTF transfer
- Garment (t-shirt, hoodie, sweatshirt, etc.)
- Silicone upper platen cover (recommended for even pressure)
- Thermal heat tape (optional)
⚠️ Important Note
Specialty transfers such as glitter, gold/silver foil, and glow-in-the-dark are COLD peel, not hot peel.
Step-By-Step Pressing Instructions
Follow these steps for consistent, professional results every time.
Step 1: No Pre-Press Needed (Optional)
EzDTF Maker DTF transfers do not require a pre-press.
Our film lays flat naturally and presses clean without forcing you to flatten the fabric first.
If you like doing a quick pre-press just for peace of mind, that’s fine — but it’s optional, not required.
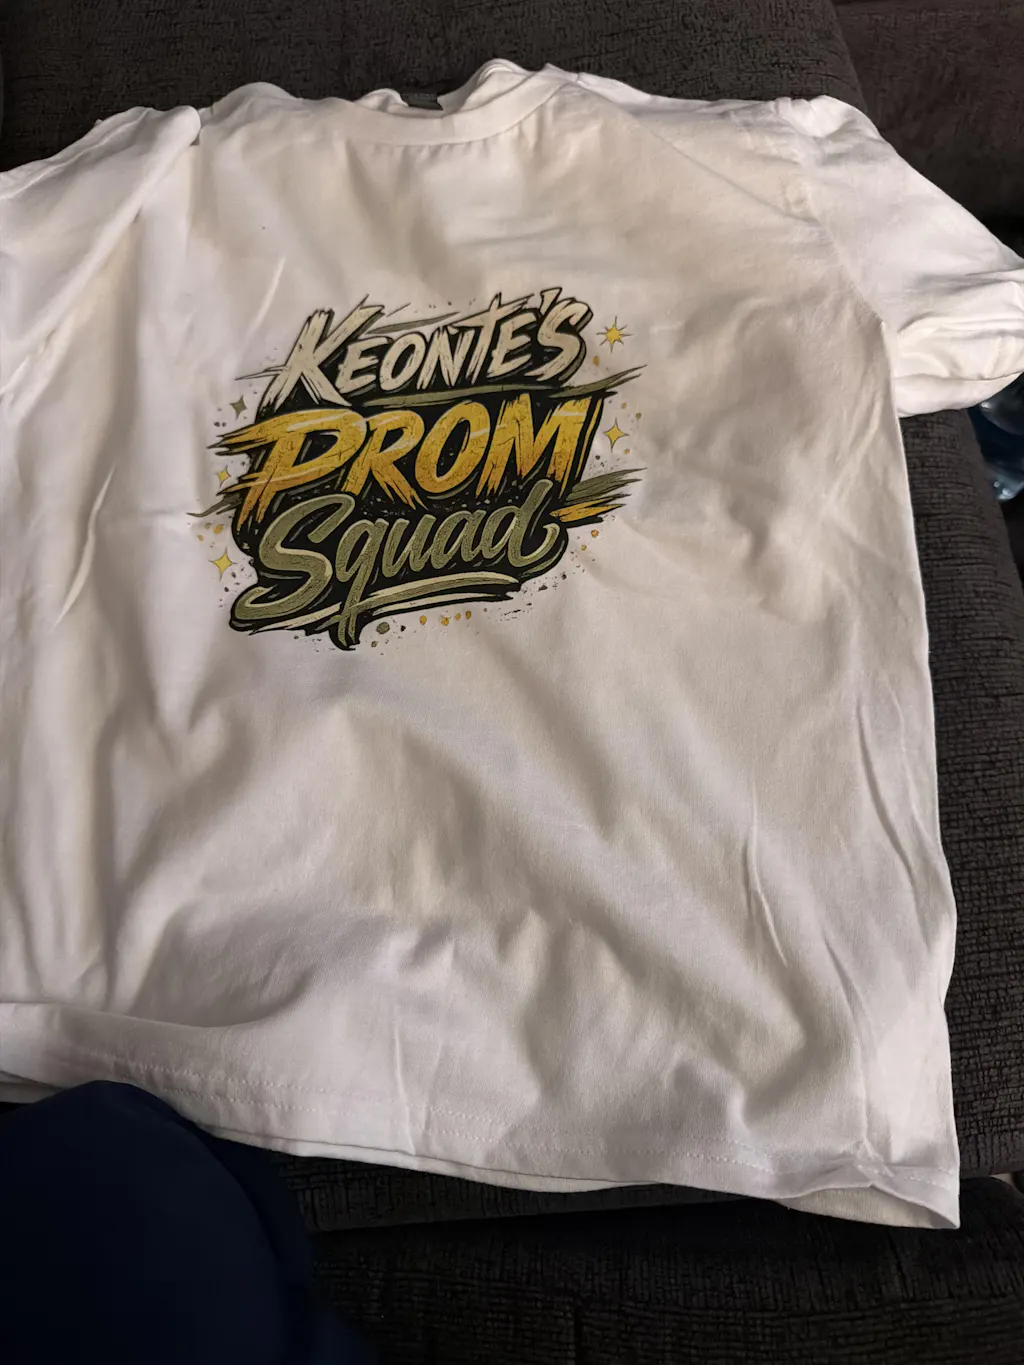
Step 2: Position Your Design
Place the DTF transfer exactly where you want it on the garment.
- Make sure the transfer is flat
- You can press over seams, pockets, and panels
- The film handles uneven areas very well
For items like:
- Hats
- Sleeves
- Side panels
A small piece of heat tape can help keep the transfer from shifting.
With experience, you’ll know when tape is needed and when it’s not.
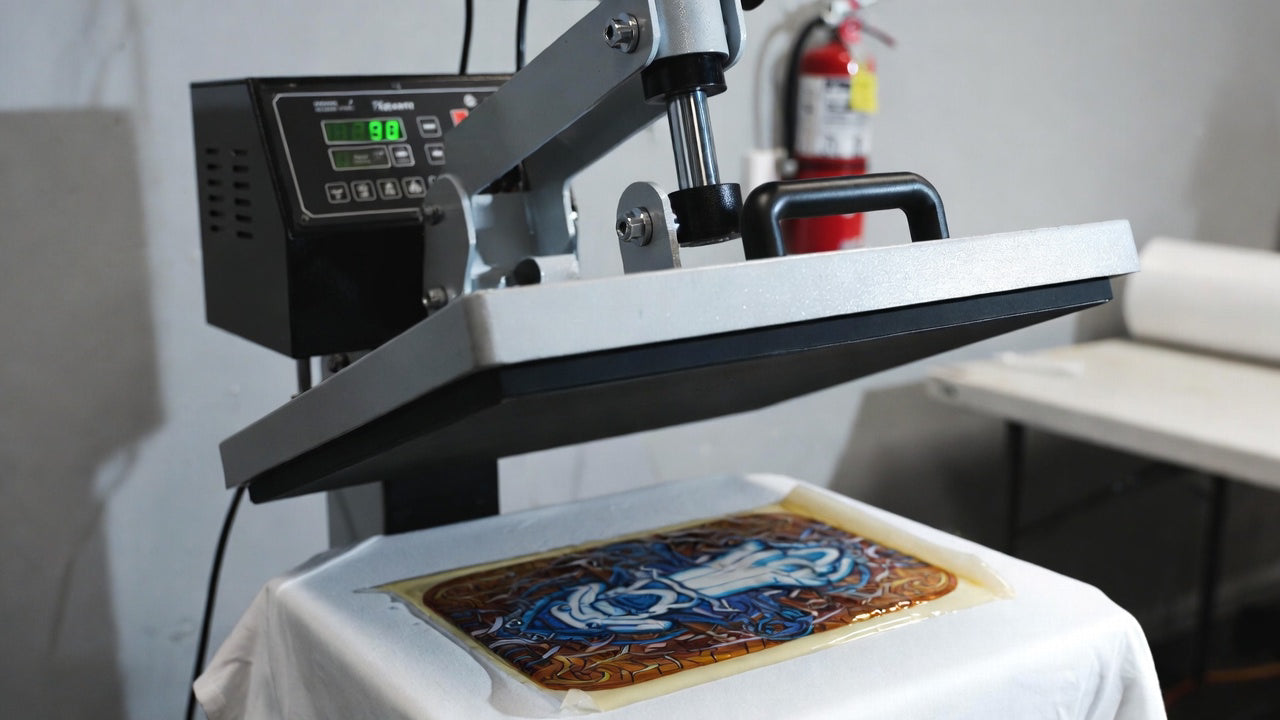
Step 3: Press & Peel
Set your heat press to:
-
Temperature: 310°F / 155°C
-
Pressure: Medium to firm
-
Time: 10–12 seconds
If you’re pressing a new fabric for the first time, always run one test press to dial in settings.
Using a silicone platen cover or parchment paper helps:
- Protect the garment
- Distribute heat evenly
After pressing:
- Wait a few seconds
- Peel the film slowly
If a corner lifts:
- Lay the film back down
- Add a little more pressure
- Press again for a few seconds
If it still doesn’t stick:
If the print looks scorched:
- Lower heat
- Reduce pressure slightly
- Test again
Every fabric reacts differently — once you dial it in, results become automatic.
Step 4: Final Press for Best Durability
A second press makes a big difference.
After peeling:
Cover the design with parchment paper
Press again for 5–10 seconds
This:
- Locks the print into the fabric
- Smooths the finish
- Improves long-term durability
Wash & Care Instructions
For the longest life:
- Wash inside-out
- Cold water
- Low heat dry or hang dry
You can wash on regular settings, but cold water keeps colors and details looking fresh for longer.
Why EzDTF Maker Transfers Are Easy to Press
- No forced pre-press
- Strong adhesion
- Clean peels
- Smooth finish
- Works on cotton, poly, blends, and more
Designed for beginners and professionals alike.
Got Questions? We’re Here to Help
Whether you’re pressing your first transfer or troubleshooting a new garment, our team is ready to help you get perfect results.
Final Thoughts
Pressing DTF transfers shouldn’t feel complicated.
With EzDTF Maker, you get reliable, press-ready transfers that apply cleanly and last wash after wash.
Follow these steps, trust your settings, and press with confidence.