
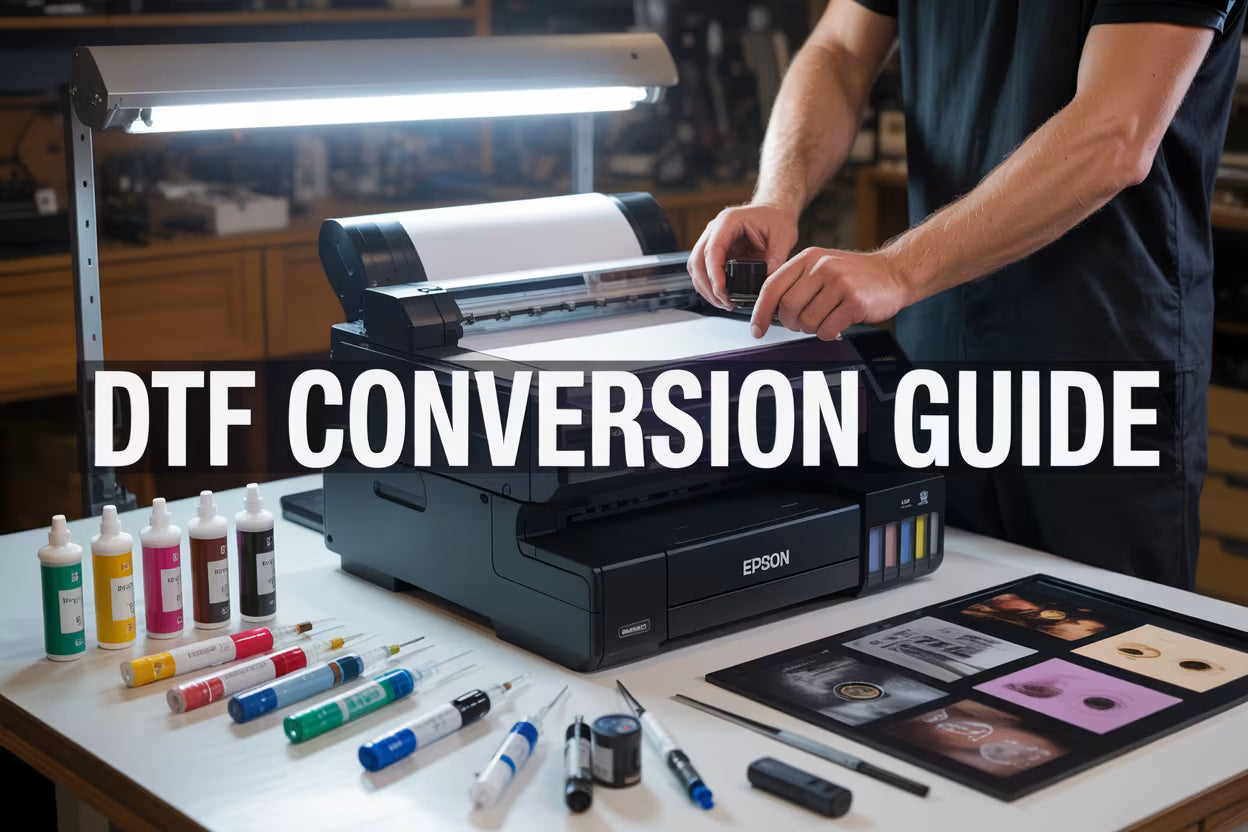
DTF transfers are gaining popularity among crafters, but many Cricut EasyPress owners wonder if their trusty heat press can handle this transfer method. This guide is for DIY enthusiasts, small business owners, and hobbyists who want to expand their crafting capabilities using equipment they already own.
DTF (Direct-to-Film) transfers offer vibrant, durable designs on various fabrics, but they require specific temperature and pressure settings that differ from traditional HTV applications. Your EasyPress might work for DTF transfers, but success depends on understanding the technology and working within your machine's limits.
We'll explore how DTF transfer technology works and what it demands from your equipment. You'll also learn the step-by-step process for attempting DTF transfers with your EasyPress and discover how results compare to professional heat presses. Finally, we'll cover common troubleshooting tips to help you get the best possible results from your current setup.
Understanding DTF Transfer Technology and Requirements

What DTF transfers are and how they work
DTF stands for Direct-to-Film, a revolutionary printing method that's changing how we think about custom apparel and fabric decoration. Unlike traditional vinyl or sublimation methods, DTF printing creates vibrant, detailed designs on a special film that can be transferred to virtually any fabric type - cotton, polyester, blends, and even leather or canvas.
The process starts with printing your design using specialized DTF inks onto a clear PET film. These water-based pigment inks are specifically formulated to bond with textiles. Once printed, a hot-melt adhesive powder gets applied to the wet ink while it's still tacky. This powder acts as the bonding agent between the film and your fabric.
The magic happens when heat and pressure activate the adhesive powder. The design literally melts into the fabric fibers, creating a permanent bond that's both flexible and durable. What makes DTF special is its ability to reproduce photographic quality images with smooth gradients and fine details that other methods struggle to achieve.
DTF transfers work on dark and light fabrics equally well, without the need for special treatments or white underlays. The printed design sits slightly on top of the fabric, giving it a slightly raised feel similar to screen printing. This versatility makes DTF perfect for small batches, one-off designs, and complex multicolor artwork that would be expensive or impossible with traditional screen printing.
Essential equipment needed for successful DTF application
Creating professional DTF transfers requires specific equipment, though you don't need an industrial setup to get started. The printing side involves a DTF printer loaded with CMYK+White inks, DTF films, and hot-melt adhesive powder. Many crafters start with converted inkjet printers, though dedicated DTF printers offer better results and reliability.
For the application process, you need three critical components: heat, pressure, and time control. A heat press machine traditionally fills this role, providing even temperature distribution and consistent pressure across the entire design. Professional DTF applications typically require temperatures between 300-320°F with medium to firm pressure for 10-15 seconds.
Quality DTF films are non-negotiable - cheap films can cause adhesion failures, color bleeding, or poor wash durability. The adhesive powder must match your ink system and fabric types. Different powder formulations exist for various applications, with some designed for stretch fabrics and others optimized for cotton.
You'll also need a curing oven or conveyor dryer to properly cure the adhesive powder before storage. This step ensures the powder bonds correctly to the ink and prevents it from falling off during handling. A powder shaker helps remove excess adhesive, and proper storage containers keep your transfers ready for application.
Temperature and pressure specifications for DTF transfers
Getting DTF application parameters right makes the difference between professional results and disappointing failures. The sweet spot for most DTF transfers sits between 305-315°F, though some films and adhesives perform better at slightly different temperatures. Going too hot can scorch the film or cause the adhesive to over-cure, while insufficient heat prevents proper bonding.
Pressure requirements vary based on your fabric type and design complexity. Medium pressure works well for most applications - enough to ensure good contact without crushing fabric fibers or causing the adhesive to squeeze out from under the design. Dense fabrics like canvas need more pressure, while delicate materials require a gentler touch.
Timing is equally critical. Most DTF transfers need 10-15 seconds of initial pressing, followed by a cool peel where you remove the film after the garment cools completely. Some transfers use a warm peel technique, removing the film while still warm. Always follow your specific film manufacturer's recommendations, as different brands may have unique requirements.
The pre-press step often gets overlooked but plays a huge role in success. Pressing the garment for 2-3 seconds before applying the transfer removes moisture and wrinkles, creating an optimal surface for adhesion. This simple step prevents many common application problems and improves overall transfer quality and longevity.
Cricut EasyPress Capabilities and Limitations

Technical specifications of Cricut EasyPress models
Cricut offers three main EasyPress models, each designed for different project needs. The EasyPress 2 comes in three sizes: 6" x 7", 9" x 9", and 12" x 10". The largest model weighs about 7 pounds and features an insulated safety base that protects your work surface. All models include digital temperature control with precise settings ranging from 205°F to 400°F.
The EasyPress Mini measures just 3.8" x 2.4" and weighs only 1.5 pounds, making it perfect for detailed work on small areas. Despite its compact size, it still reaches temperatures up to 350°F. The heating element distributes heat evenly across the entire plate surface, which sets it apart from household irons that often have hot spots.
Each model includes a built-in timer with audio alerts and an automatic shut-off feature for safety. The heating plates have a ceramic-coated surface that provides consistent heat distribution, and the ergonomic design includes a comfortable grip handle that stays cool during operation.
Temperature range and pressure output analysis
The temperature capabilities of Cricut EasyPress models work well for most DTF transfers, which typically require temperatures between 275°F and 320°F. The precise digital controls allow you to set exact temperatures in 5-degree increments, giving you better control than traditional household irons.
However, pressure output presents the biggest challenge. DTF transfers need consistent, firm pressure - usually around 40-60 PSI for optimal results. The EasyPress relies on manual pressure applied by the user, which can vary significantly throughout the pressing process. Professional heat presses provide consistent pneumatic or mechanical pressure that EasyPress models simply can't match.
You'll need to apply steady, firm downward pressure throughout the entire pressing time. The weight of the EasyPress itself helps, but you'll still need to add significant manual pressure. This can become tiring during longer pressing sessions, and maintaining consistent pressure across the entire design becomes more difficult with larger transfers.
The heat distribution is excellent across the plate surface, with temperature variations of less than 5°F when properly preheated. This even heating helps prevent partially transferred areas that can occur with traditional irons.
Size constraints and heating plate coverage
Size limitations become apparent when working with larger DTF designs. The biggest EasyPress 2 model has a 12" x 10" heating surface, which works fine for most apparel designs but restricts you to smaller formats compared to professional 15" x 15" or 16" x 20" heat presses.
The smaller models create even more constraints. The 9" x 9" model works well for standard chest designs, while the 6" x 7" model limits you to pocket-sized graphics or small decorative elements. If your DTF design exceeds the plate dimensions, you'll need to press in sections, which can create visible overlap marks or inconsistent results.
Coverage becomes critical with DTF transfers because incomplete contact can leave portions of the design unattached. The flat, even surface of the EasyPress plates provides good contact on smooth fabrics, but textured materials or seams can create gaps that affect transfer quality.
The heating plate edges maintain consistent temperature right to the borders, so you can use the full surface area effectively. This edge-to-edge heating gives you maximum coverage within the size constraints, unlike some budget heat presses that have cooler edges.
Step-by-Step Process for Using EasyPress with DTF Transfers

Preparing your DTF transfer and garment properly
Getting your DTF transfer ready starts with making sure your design is completely dry and cured. Check that the powder adhesive feels firm to the touch and doesn't come off when you gently brush it. If there's any tackiness or loose powder, give it more time to cure properly.
Your garment needs to be wrinkle-free and completely dry. Pre-press the fabric for 5-10 seconds with your EasyPress to remove any moisture and smooth out wrinkles. This step prevents steam from interfering with adhesion. Cotton and cotton blends work best, though you can apply DTF transfers to polyester - just be careful with temperature settings to avoid scorching.
Position your transfer face-down on the garment, making sure it's straight and centered. Use a ruler or measuring tape if needed. The carrier film should be facing up, and you should be able to see your design through the film. Remove any lint or debris from both the transfer and garment surface.
Setting optimal temperature and timing for application
The EasyPress works best for DTF transfers at 315°F (157°C) for 12-15 seconds. This temperature is hot enough to activate the adhesive powder but won't damage most fabrics. Start with 12 seconds and increase time if the transfer isn't adhering completely.
Different EasyPress models heat differently, so you might need to adjust. The EasyPress 2 and EasyPress 3 maintain more consistent temperatures than the original model. Use the official Cricut app's heat guide as a starting point, but remember that DTF transfers often need slightly higher temperatures than regular HTV.
For thicker fabrics like hoodies or canvas, add 2-3 extra seconds to your pressing time. Delicate fabrics like rayon or thin polyester need lower temperatures around 300°F to prevent damage. Always test on a scrap piece first.
Applying consistent pressure for complete adhesion
The EasyPress needs firm, even pressure across the entire transfer. Press straight down and avoid rocking or sliding motions that can cause the transfer to shift. Your arms should be positioned directly over the press for maximum downward force.
For larger designs, work in overlapping sections. Press one area for the full time, lift slightly, then overlap onto the next section. Don't lift completely between sections or you'll lose heat. The key is maintaining that 315°F temperature across the whole design.
If your transfer is bigger than your EasyPress, work from the center outward in a systematic pattern. Press the center first, then work to edges, ensuring each section gets the full 12-15 second treatment with proper pressure.
Cooling and peeling techniques for best results
Let the transfer cool for 10-15 seconds before attempting to peel. The carrier film should feel warm but not burning hot. This cooling time lets the adhesive set properly into the fabric fibers.
Peel the carrier film slowly at a 45-degree angle, not straight up. Start from one corner and work across steadily. If you feel resistance or see parts of the design lifting, stop and repress that area for another 5-10 seconds.
Some DTF transfers are cold-peel (wait until completely cool) while others are warm-peel. Check your transfer specifications, but most work well with the warm-peel method described above. If the design edges are lifting after peeling, place parchment paper over the transfer and press again for 5 seconds to secure any loose areas.
Comparing Results: EasyPress vs Professional Heat Press

Quality Differences in Transfer Adhesion and Durability
When comparing DTF transfer results, the heat distribution makes a huge difference in the final outcome. Professional heat presses deliver consistent, even pressure across the entire transfer area, creating stronger bonds between the adhesive powder and fabric fibers. The EasyPress, while capable, has a smaller heating surface and less uniform pressure distribution, which can lead to spotty adhesion, especially on larger designs.
Wash durability reveals the most significant differences. DTF transfers applied with professional heat presses typically withstand 50+ wash cycles while maintaining vibrant colors and intact edges. EasyPress applications often show premature cracking or peeling around the 20-30 wash mark, particularly at design edges where pressure may have been insufficient.
Color vibrancy and detail retention also vary between methods. Professional presses maintain the full color spectrum and fine details through proper heat penetration. EasyPress transfers may appear slightly duller and lose some detail definition due to inconsistent temperature zones across the pressing surface.
Time Efficiency and Production Speed Comparisons
Production speed creates a clear divide between these two methods. Professional heat presses complete most DTF transfers in 10-15 seconds with their powerful heating elements and pneumatic pressure systems. The EasyPress requires 60-90 seconds per transfer, making it impractical for bulk production runs.
Setup time favors the EasyPress for small batches. You can start pressing within minutes of plugging it in, while commercial heat presses need 10-15 minutes to reach optimal operating temperature. However, this advantage disappears quickly when processing multiple items.
Workflow efficiency becomes critical for businesses. Professional presses allow continuous operation with minimal downtime between transfers. The EasyPress requires more attention and manual positioning for each application, creating bottlenecks in production workflows.
Cost-effectiveness for Small vs Large Projects
For hobbyists and small-scale creators, the EasyPress offers an attractive entry point. At $150-200, it provides DTF capability without the $800-2000 investment required for professional equipment. Small projects (1-10 items) remain cost-effective despite longer processing times.
| Project Scale | EasyPress | Professional Heat Press |
|---|---|---|
| 1-10 items | Most cost-effective | Higher upfront cost |
| 25-50 items | Time becomes costly | Efficiency pays off |
| 100+ items | Impractical | Clear winner |
Volume economics shift dramatically at higher quantities. When factoring in time costs and potential rework from failed transfers, professional presses become economical around 25-30 transfers per week. The superior durability also reduces customer complaints and replacement costs, improving long-term profitability for businesses scaling beyond hobby-level production.
Troubleshooting Common DTF Transfer Issues with EasyPress

Preventing incomplete transfer adhesion problems
The biggest culprit behind poor DTF transfers with the EasyPress is inadequate temperature control. Your EasyPress might not be reaching the exact temperature shown on the display, especially if you haven't calibrated it recently. Use an infrared thermometer to verify the actual surface temperature matches your settings.
Moisture is another sneaky villain that ruins perfect transfers. Store your DTF transfers in a dry environment and preheat your garment for 3-5 seconds before applying the transfer. This removes any lingering moisture that could create a barrier between the adhesive and fabric.
Timing matters more than you might think. While professional heat presses maintain consistent heat throughout the pressing cycle, the EasyPress can lose temperature during long applications. For DTF transfers requiring 15+ seconds, lift and repress every 5-7 seconds to maintain optimal heat distribution.
Check your fabric compatibility too. Some synthetic blends require different temperature and time combinations than cotton. Polyester garments often need lower temperatures but longer pressing times to avoid scorching while ensuring proper adhesion.
Avoiding overheating and transfer damage
The EasyPress base heats up gradually, which can trick you into thinking you need higher temperatures. Start 25-50 degrees lower than recommended DTF settings and increase gradually if needed. Scorched transfers are impossible to fix, but underpressed ones can get a second chance.
Watch for the telltale signs of overheating: shiny or glossy areas on the transfer, color distortion, or a plastic-like smell. Dark colors show heat damage first, appearing faded or brownish around the edges.
Create a buffer zone by placing a piece of parchment paper between the EasyPress and your transfer. This prevents direct contact while still allowing heat transfer, reducing the risk of burning delicate design elements.
Temperature strips or heat-sensitive tape can help monitor actual temperatures during pressing. Place these near your transfer area to get real-time feedback about heat levels.
Fixing uneven pressure distribution issues
The EasyPress design creates natural pressure points that don't always align with your transfer size. For larger designs, work in overlapping sections rather than trying to cover everything in one press. Start from the center and work outward, maintaining consistent pressure.
A pressing pillow underneath your garment helps create even contact, especially on textured fabrics or areas with seams. The pillow fills in low spots and prevents the EasyPress from rocking on uneven surfaces.
Your pressing surface matters more than most people realize. A hard, flat surface like a solid table works better than ironing boards, which can flex under pressure. The wobble reduces contact pressure and creates uneven results.
Apply firm, consistent downward pressure throughout the entire pressing time. Don't just set it and forget it – maintain active pressure by leaning into the handle. The EasyPress relies on your applied force since it lacks the automatic pressure systems found in professional presses.
For thick garments or multiple layers, increase both temperature and time rather than trying to press harder. Excessive force can damage the EasyPress heating element or create pressure marks on delicate fabrics.

DTF transfers can work with your Cricut EasyPress, though it takes some tweaking to get great results. The EasyPress offers decent heat distribution and pressure for smaller projects, but you'll need to adjust your technique compared to using a professional heat press. Pay close attention to temperature settings, timing, and apply firm, even pressure to avoid peeling or cracking.
While the EasyPress won't match the consistent results of a commercial heat press, it's a solid option for hobbyists and small batch projects. Start with test runs on scrap fabric, keep your designs simple, and don't expect the same durability you'd get from professional equipment. If DTF transfers become a regular part of your crafting routine, you might want to invest in a dedicated heat press down the line.
Explore More with EZT Mart & EZDTF Maker
At EZDTF Maker, we provide everything you need to bring your designs to life — from blank apparel to premium DTF and UV DTF printing supplies. Start with our apparel mart, then explore our full range of transfers, bundles, and materials.
🛍 Shop Apparel & Blanks
Begin your printing journey with high-quality apparel from our dedicated store:
👉 EZT Mart – Your destination for blank apparel, fashion basics, and accessories ready for customization.
Custom Transfers & Builders
Custom DTF Transfers by Size – Perfectly sized transfers for any project.
DTF Gang Sheet Builder – Combine multiple designs into one efficient sheet.
Upload Your Gang Sheets – Quick uploads for fast turnaround.
Holiday & Seasonal Transfers – Ready-to-press designs for special occasions.
UV DTF Gang Sheet Builder – Create vibrant and durable UV DTF stickers.
Bundles & Supplies
DTF Supplies Bundle | UV DTF Supplies Bundle – All-in-one solutions for your printing setup.
Premium DTF Ink | DTF TPU Powder | DTF Film Rolls – Reliable supplies for flawless results.
UV DTF Ink | Premium UV DTF Film – High-quality UV materials for lasting designs.

Leave a comment
This site is protected by hCaptcha and the hCaptcha Privacy Policy and Terms of Service apply.